


The laser is one of the most important inventions of the 20th century, as far as experimental physics is concerned. Since the first demonstration of a laser in 1960, they have become ubiquitous in research labs across the world, forming a cornerstone of modern optics and quantum research. Laser stabilization, also known as laser locking, is a critical step in optimizing the performance of a laser for the most cutting-edge applications. In this article we will look at why lasers are useful, why they need to be stabilized, and explain laser locking techniques. For more information, download the ebook on the ultimate guide to Pound-Drever-Hall (PDH) laser locking.
What is a laser?
The main feature of a laser is that it emits light that is both monochromatic and coherent, forming a beam. With these stable, coherent light sources, users can investigate specific frequencies of interest and focus and direct the laser beam where it is needed. This ability makes lasers incredibly useful for driving atomic transitions, transmitting information, performing microscopy, and a host of other applications. Lasers are now essential components in diverse fields, from quantum optics and dark matter detection to Raman spectroscopy.
Why is laser frequency stabilization important?
Despite ostensibly being stable light sources, in reality lasers are highly susceptible to environmental factors such as source current fluctuations, temperature variations, mechanical vibrations, and aging of components. This causes the laser to drift in frequency or phase over time. For applications requiring precise and repeatable measurements, this is an issue that must be addressed. Fortunately, researchers have developed several ways to stabilize, or “lock,” the frequency of a laser.
How is a laser stabilized?
There are a few different ways to stabilize a laser. One of the most common is the Pound-Drever-Hall (PDH) technique. As seen in Figure 1, the setup requires a laser source, electro-optic modulator (EOM), RF synthesizer, photodiode, and frequency demodulator (typically a lock-in amplifier). The last component, which serves as the frequency reference, is an optical cavity, or étalon, with highly reflective mirrors. The high reflectiveness ensures that the cavity has an extremely narrow linewidth.
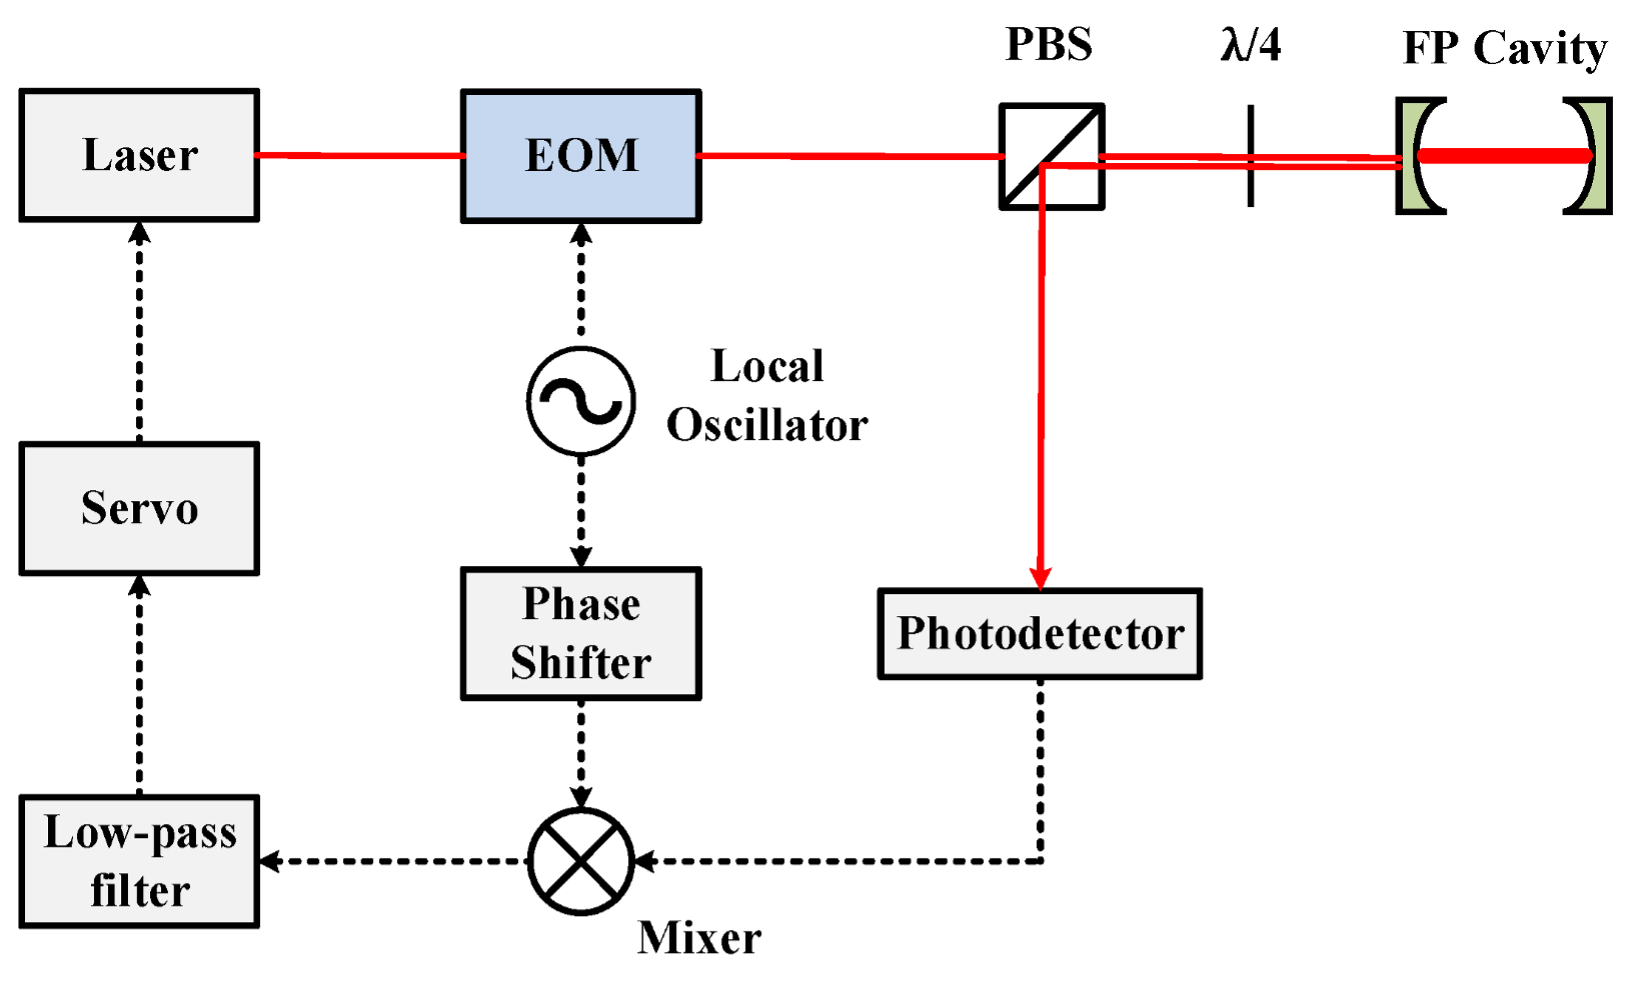
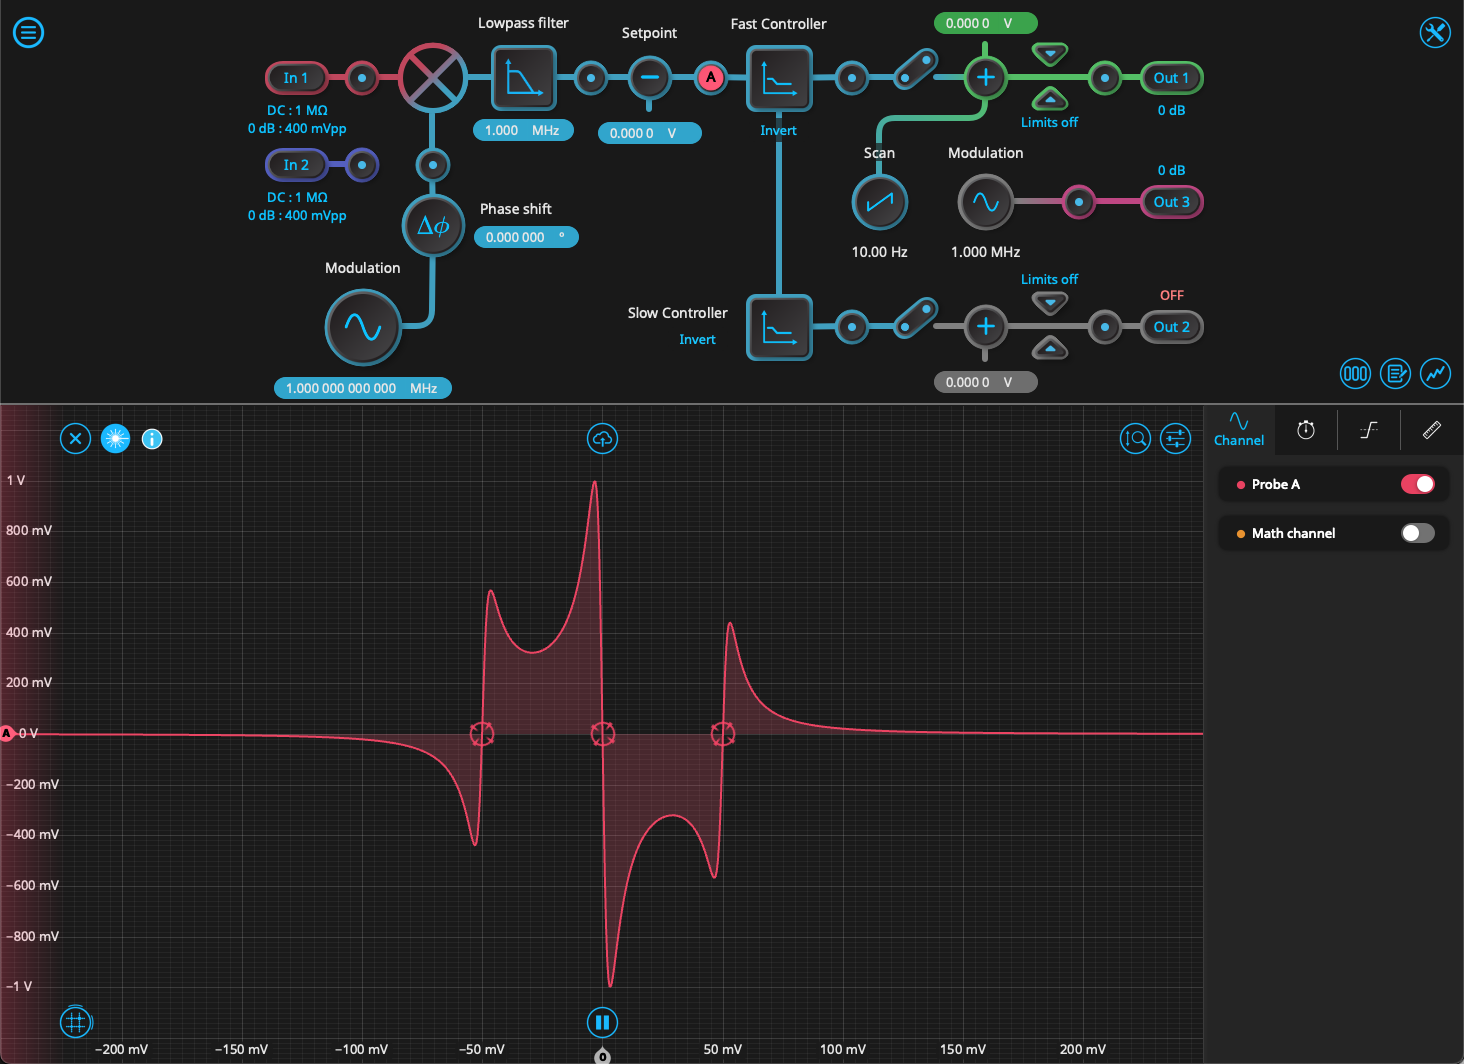
The goal of the PDH procedure is to sweep the laser frequency until it matches that of the cavity, and then keep the laser locked to it using a feedback loop. After the beam is generated by the laser source, it passes through the EOM for phase modulation. The modulation frequency generated by the RF source in this case is typically higher than the linewidth of the cavity. After this, the beam will then have three frequency components, consisting of the original signal plus two sidebands. When the modulated signal passes into the optical cavity, a different proportion of the signal will be reflected or transmitted based on its frequency. In a sense, the cavity converts the frequency-modulated beam into an amplitude-modulated one, which can easily be picked up later with a Lock-in Amplifier. Moreover, the phase of the reflected signal also depends on whether the frequency component is above or below the cavity resonance. The interference between the reflected beam and sidebands produces a complex frequency profile — see the mathematical basis for PDH locking here — but the result is the generation of an “error term” that can be recovered by demodulating at the same frequency using the lock-in amplifier. To find the locking point, first sweep the center frequency of the laser. Then, calculate the error signal at each point. Upon completion, the sweep will show three zero crossings of the error signal, corresponding to the points where each frequency component is resonant with the cavity. The sign and magnitude of the error signal determine how far the laser frequency is deviating from the cavity resonance. This information can be fed back to the laser via a servo to adjust it, forming a closed-loop feedback system.
What are the advantages of the PDH laser locking method?
In contrast to other laser stabilization techniques, such as side-of-fringe locking, PDH locking has several distinct benefits. First, the generated error signal has a sign associated with it, which allows the user to determine whether the laser frequency is higher or lower than the cavity frequency. This means that you can lock the laser directly onto the cavity resonance and correct the frequency no matter which direction it drifts. Second, the error signal is independent of the incident laser power, meaning there is no noise added to the system by intensity fluctuations. Lastly, the error signal as a function of frequency is approximately linear near resonance, a useful regime for the feedback loop to operate in.
What is a laser lock box?
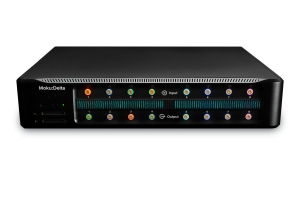
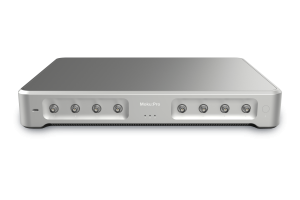
A laser lock box is a tool that implements the full PDH process, from modulation to PID feedback. In the case of the software-defined Moku Laser Lock Box, it replaces the standalone RF generator, phase shifter, demodulator, filter, and PID controller with a single, all-digital instrument, eliminating the analog noise and insertion loss introduced by physical components. The Moku Laser Lock Box significantly streamlines the process — by using the Moku: app and integrated Oscilloscope, you can check the status of the modulation, error, or PID signals on one screen and select your lock point at any of the zero crossings. Other features include the digital phase shifter, which helps find the sweet spot for demodulation, and the fully integrated fast and slow PID controllers, which provide the feedback signal to the laser. The Moku Laser Lock Box reduces both the physical footprint and technical complexity of a PDH laser locking system, while automating the process for the end user.
Perspective and additional resources
Using the PDH method for laser stabilization and to lock a laser frequency is a prerequisite for implementing advanced optical experiments. Flexible tools like the Moku Laser Lock Box reduce the size and complexity of the laser locking system and eliminate the hassle and repetitive nature of the task, improving the user experience with valuable time savings. Check out the following app notes and case studies to see the Moku Laser Lock Box in action. How to optimize PDH laser locking with the Moku:Pro Laser Lock Box Learn to streamline the Pound-Drever-Hall laser locking technique using the Laser Lock Box for Moku devices. Laser locking with closed-loop transfer function measurement Learn how to use software-defined instrumentation to perform simultaneous locking and characterization of a narrow linewidth laser system. Resonator length stabilization with the Moku:Pro Laser Lock Box at the University of Münster See how researchers are accelerating signal characterization goals by eliminating repetitive, time-consuming tasks.
Questions?
Get answers to FAQs in our Knowledge Base
If you have a question about a device feature or instrument function, check out our extensive Knowledge Base to find the answers you’re looking for. You can also quickly see popular articles and refine your search by product or topic.
Join our User Forum to stay connected
Want to request a new feature? Have a support tip to share? From use case examples to new feature announcements and more, the User Forum is your one-stop shop for product updates, as well as connection to Liquid Instruments and our global user community.