

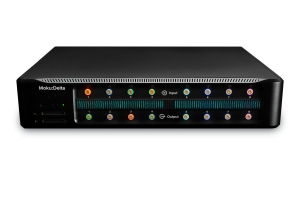
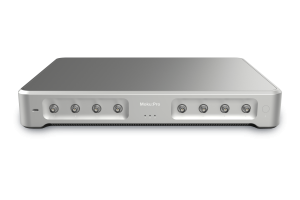

Experiments in the physical sciences have grown more complex over time, often requiring precise synchronization and automation across a range of measurement devices. The specialized nature of modern research has, in turn, led to the rise of custom, user-created software to propel it forward. Read on to learn more about how the reconfigurable Moku instrumentation platform and the Moku Python API work together to help users quickly customize their control stacks.
Why use the Moku Python API?
Owing to its ease of use, diverse array of user-created packages, and abundant supporting resources, Python is the programming language of choice for experimental physics, bioinformatics, machine learning, and more. The philosophy behind the Moku hardware platform is similarly inspired, giving users a versatile toolbox of instruments on one FPGA-based device. However, easy-to-use software is also critical. As part of this design ethos, Moku gives users the choice of several interfaces, including Windows, macOS, iPadOS, and visionOS, plus multiple APIs, including the Moku Python API. By combining the flexibility of Moku with Python, users can easily integrate their Moku devices into existing setups while meeting their toughest research challenges. The next section describes how to install the Python API on your desktop system.
Recommended prerequisites for the Moku Python API
Before installing the Moku package, ensure that you have a Python environment of at least version 3.5 installed on your computer. If you are new to Python, check out distributions such as Anaconda, which can help keep track of your installed packages and libraries, while supporting popular IDEs such as Spyder and Jupyter Notebooks. Even if you don’t plan on using it as part of your experiments, we recommend having the Moku software installed on your computer. This will make it easier to check for things such as the IP address, firmware version, and connection status of your Moku device. Installing this app will not interfere with your Moku device’s communication through Python. Finally, if you wish to interact with your Moku via command line, install the Moku CLI utility — simply download and run the installer for your system. After installing, restart your Python environment to load the moku cli library. This is not strictly necessary to use the Python API, but it does have several handy functions, such as the ability to view your Moku IP address and convert between file types.
Installing the Moku Python API package
Once you have installed these prerequisites, open a terminal and navigate to your root folder. If you’re using Anaconda on Windows, you can launch this from the main navigation screen (CMD.exe). Otherwise, manually navigate to your Python root folder using the Command Prompt function. If you’re a macOS user, simply run the Terminal program on your device. To test that you’re in the right directory, try typing python –version into the console. If a Python installation is detected, the console will return the version number, as seen in Figure 1.

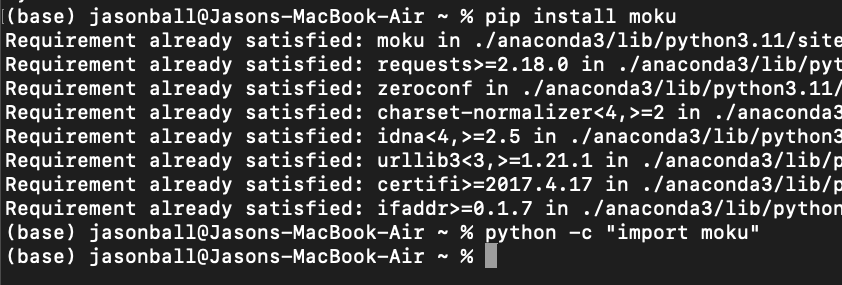
Next, install the Moku package using pip, an automated package manager. If you’ve worked with Python before, this procedure will be familiar. Type pip install moku and wait for the procedure to complete. After the command line appears again, check if the installation was successful by typing python -c “import moku”, as seen in Figure 2. If no error is returned, proceed to the next step.
Downloading the Moku data files
Now we need to install the actual datafiles that are used by the Moku instrument. It is critical to make sure that the firmware version of the datafiles that you download matches the firmware on your device. If you don’t already know the version, you can check it with the Moku:app. Type moku download –fw_ver=591 into the console to start the download, as seen in Figure 3. These data files are large (~1 GB) and may take some time to download, depending on your connection speed. Once the data files are downloaded, you are almost finished.

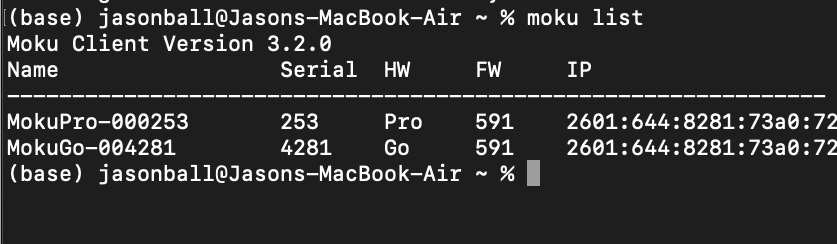
Note that the firmware is already installed in this example, so check to make sure it installs successfully. If your Moku is powered on and connected to the network, and you already installed the Moku CLI, you can see the IP information by typing moku list. The console will then show the IP and firmware version information for each detected device, as seen in Figure 4.
Taking the next steps with the Moku Python API
If you are looking to take the next step with your Python code, there are many resources available. Please see our API reference guide for a full list of commands available. All 14 instruments, as well as Multi-instrument Mode, can have any of their settings configured through the API. There are also several example scripts available. You can also watch our on-demand webinar, Streamlining experimental control stacks with flexible FPGA-based instrumentation and Python, to learn new ways to maximize efficiency and speed in your lab. From getting started to implementing advanced scripts for waveform generation, data logging, and more, discover how to accelerate your experiments with the power and flexibility of the FPGA-based Moku platform and Python. In this webinar, we cover several example scripts, which you can download here. If you need help with the installation, check out our Troubleshooting guide.
Get answers to FAQs in our Knowledge Base
If you have a question about a device feature or instrument function, check out our extensive Knowledge Base to find the answers you’re looking for. You can also quickly see popular articles and refine your search by product or topic.
Join our User Forum to stay connected
Want to request a new feature? Have a support tip to share? From use case examples to new feature announcements and more, the User Forum is your one-stop shop for product updates, as well as connection to Liquid Instruments and our global user community.